- Why does my laptop screen have rainbow lines?
- What causes laptop screen damage?
- How do you fix a discolored laptop screen?
- How do I fix a rainbow screen with Faulty or worn backlight bulbs inside of the laptop display
- How do I fix a laptop rainbow screen if an inverter board behind the LCD panel has been damaged
- How do I fix a rainbow screen on a laptop if the laptop’s video card has failed
- How expensive is it to fix a laptop screen?
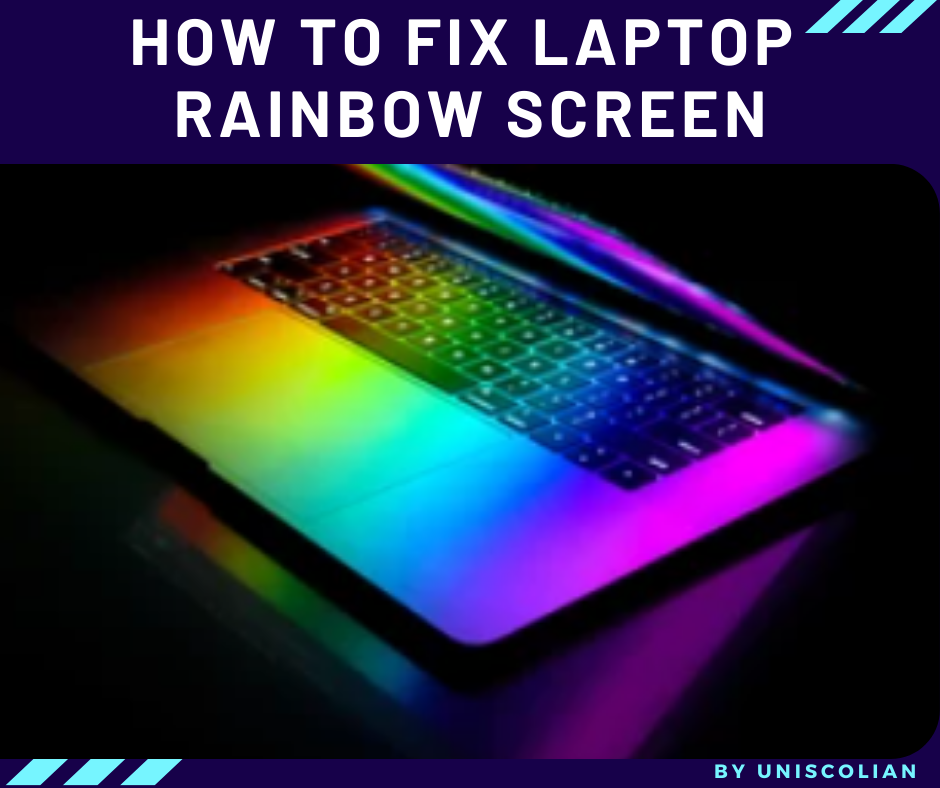
If your laptop screen is displaying a rainbow of colors, it may seem like a daunting task to fix. However, with some simple troubleshooting techniques, you can restore your screen to its former glory in no time. In this post, we will discuss what may cause a rainbow screen on a laptop and how to fix it. Keep reading for more information!
Why does my laptop screen have rainbow lines?
There are several reasons why your laptop screen may show rainbow lines. This problem is generally caused by a faulty inverter board or by damage to the backlight behind the display.
The most common causes of this issue are listed below:
* A video cable has become disconnected or has failed.
* The laptop’s video card has failed and needs to be replaced.
* The video cable is incorrectly installed and this must be corrected.
* A hardware component on the motherboard has failed.
* An inverter board behind the LCD panel has been damaged from too much pressure being applied to the laptop while it is running or from a drop to the ground.
* A loose hardware connection on the motherboard has caused a short circuit that is interrupting power supply to the backlight.
* The laptop’s inverter board may be faulty and will need to be replaced.
* The backlight behind the display of your laptop has completely failed and needs to be replaced, which would require professional repair.
* Faulty or worn backlight bulbs inside of the display unit have caused the inverter board to fail and will require replacement.
The exact cause of this issue can be difficult to diagnose without physically inspecting the device, but one thing is for certain – faulty hardware on the motherboard, video card, or cable are the most common causes.
What causes laptop screen damage?
Common causes of laptop screen damage include things such as neglect, water, heat and impact.
Unfortunately, it can be easy to forget that a device is running at high temperatures, especially if the laptop is not being used or has been idle for a long time. A computer could also become very hot from extensive use without proper ventilation. It is important to remember not to place a laptop on soft surfaces like upholstery or clothing.
Water damage is another common cause of screen damage, especially if it comes in contact with the power supply. Users should be careful when handling liquids around laptops and avoid spilling drinks. It is also possible that the device could get damaged after coming into contact with a foreign substance.
It is possible for the screen to crack from impact from dropping the laptop from an elevated place or when hitting it with hard objects, such as keys or pens. This can also damage other components in the device and render it inoperable.
Related Article: How to Know if the Laptop is Refurbished?
How do you fix a discolored laptop screen?
If you find that your laptop display is projecting unexpected or disturbing color distortion on its screen, there are several solutions that may resolve the issue.
1) Check the settings of your graphics card(s) – This can be done by right-clicking on the desktop and clicking “Graphics Properties”, then scrolling to the bottom of the window that appears. The color depth should be set at 32-bit for most screens, unless it is a device with very high resolution (higher than 1920×1080 pixels,) in which case it should be set at 24-bit. If these settings aren’t correct, click “Yes” when asked if you’d like to keep changes.
2) Have your graphics card(s) checked for proper compatibility with the laptop – While laptops often do not have dedicated graphics cards, it is still possible that a discerning eye could determine that there is an issue. In these cases, opening up the laptop and having a technician physically check the connections from both the motherboard and the laptop’s display can verify whether there is any issue with the cards.
3) Check the settings on your laptop – The default color scheme used by laptops may not reflect that of high-end screens, which often have wider color ranges than budget screens. To ensure that your screen is using the correct colors, right click “Computer” (on the desktop,) and click “Properties”, then go to the “Advanced System Settings” option and click on the tab that says “Hardware”. From there, select your laptop’s graphics card model, and verify that it is using direct rendering. If it isn’t, you may need to check with your manufacturer for further instructions.
4) Check your laptop’s resolution – If the color range is set too low, it may cause colors to appear differently than they are meant to. Most screens should be run at their native resolution for optimal performance. To check both your screen’s current resolution and whether or not it can support higher resolutions, right click “Computer” (on the desktop,) then go to the “Properties” option and click on the tab that says “Settings”.
5) Check your monitor -If you’re using an external monitor, there may be some compatibility issues with the monitor and your laptop. Make sure that both devices are compatible; if they aren’t, you’ll need to purchase a new display or check with your manufacturer for further assistance.
6) Check your monitor’s connection – If your monitor is plugged into the laptop, there may be an issue with its cables. Verify that there are no loose cables by unplugging everything and then checking to see if you can recognize any issues with either the monitor or the cable itself (scratches, tears, exposed wires, etc.) Try plugging the monitor into another laptop to see if it works. If it doesn’t, check with your manufacturer for further assistance.
7) Use a different OS – If you’re using multiple OS’s on your laptop, try booting up in safe mode and seeing if the issue still occurs in that environment. If it doesn’t, your other OS may be causing the issue. Make sure that all of the drivers are up-to-date for each OS and try booting into safe mode with networking if possible to see if you can access the internet properly there. If not, check with your manufacturer for further assistance.
8) Check your display settings – If you’re running Windows 8 or later, there may be an issue with the display settings. Right click “Computer” (on the desktop,) then go to “Properties,” and under the graphics card/chip section, click on the tab that says “Settings.” There should be a color range option; double check that this is set at 32-bit.
9) Make changes in the Registry Editor – If none of these options work, it may be necessary to make some changes in the Registry Editor. Be very cautious when using the registry editor, as incorrect changes could cause permanent damage to your system. If you aren’t confident that you know what you’re doing, consider finding a professional computer technician to assist you. To view the registry, click on “Start,” then go into “Run.” From there, type in “regedit” (without quotes.)
10) Check your laptop’s memory – If you’re using a lower-end laptop and it is experiencing any of these issues, check your laptop’s memory by looking at your computer’s specifications. If any of this information is unclear, use the manufacturer’s website to help you out as much as possible.
11) Check your BIOS – You can access your computer’s BIOS by hitting a specific key on startup (e.g. F2.) Once you see the BIOS screen, verify that everything is properly configured. If you aren’t confident that you know what you’re doing, consider finding a professional computer technician to assist you.
12) Check your drivers – To check your graphics card driver, go to your device manager and right click on the display adapter (should be under “Display Adapters.”) From there, select “Update Driver Software.” This shouldn’t erase any of your personal files, but it may cause problems with the graphics driver if you’re using an outdated version.
Related Article: How To Fix Laptop Power Jack Without Soldering? Step by step guide 2022
How do I fix a rainbow screen with Faulty or worn backlight bulbs inside of the laptop display
First of all, if you are getting a rainbow-colored screen, have a look at this guide for fixing monitor issues. If your laptop is getting power but still has no display when you turn it on, then it is likely that you have faulty or worn backlight bulbs inside of the laptop display.
In this guide, we will show you how to replace the backlight bulbs.
Tools needed: Small crosshead screwdriver (PH0 or PH00), plastic spudger, and replacement backlight bulbs.
Turn off the laptop, unplug from power and remove the battery.
Remove the screws on the bottom of the laptop that is circled in red.
Lift off the keyboard panel (be careful not to snap any of the plastic clips holding it in place). Unplug any cables connected to the motherboard and remove all screws circled in red. Then lift out the black strip highlighted in blue above which houses all of the ribbon cable connectors for the screen.
Be sure to keep all screws, cables, and parts in a safe place so they can be put back when the repair is finished.
The screen will now lift off the laptop revealing the inner workings of the laptop including the faulty or worn-out backlight bulbs which are circled in red above (note that depending on your particular model there may be more or less than four).
You will notice that the faulty backlight bulbs are surrounded by little rubber bungs which help to protect them from dust and other particles, remove these now.
Take out all of the old backlight bulbs and replace them with new ones. Make sure they are inserted in the right orientation (positive side facing the positive terminals) and that they sit all the way inside the bulb holder.
When replacing this kind of component it is usually best to get your fingers dirty and do the repair job properly. The backlight bulbs don’t cost much (about £1 each if you buy them online as we did, link below) so there really isn’t any excuse for not doing it properly.
Replace all of the rubber bungs and replace the screen, keyboard, and battery. Power on the laptop and check to see if your issue has been resolved. If you are still having problems with a rainbow screen at this point then follow our monitor repair guide.
How do I fix a laptop rainbow screen if an inverter board behind the LCD panel has been damaged
A laptop is defective if it gives an indication of a bad video card or if it shows many horizontal colored lines on the screen . We are going to describe how to find where the problem lies by checking a few components. For this purpose, you have to open the laptop and replace some pieces if necessary.
The first step is to locate the Inverter board, which is normally mounted at the base of the LCD panel or just behind it.
Then, we have to find a piece called Mainboard. It contains many chips for controlling different parts of your laptop. We advise you to remove the mainboard and check if there is a gray square located at the top right corner. Check out its connectors for any signs of damage, which can be burn marks or cracks on the solder joints.
To get better access to them, you have to lift up the board slightly and disconnect this connector, detach it from any other components and remove it.
Now you can easily inspect the Inverter board connectors for any possible defect or burn marks on them. When you have done this, check the inverter’s connections going from the board to the LCD panel and replace them if they are defective. If not, go back to your mainboard and check its gray square connector for any signs of burn marks or cracks on the solder joints.
How do I fix a rainbow screen on a laptop if the laptop’s video card has failed
A rainbow screen on a laptop is a sign that the display adapter has failed. The only way to fix this hardware problem is to replace the graphics card of the laptop. To begin, remove any discs from your computer and turn it off. If you are not comfortable working with your laptop’s internal components (or do not have the proper screwdriver), you can take your laptop to a computer shop for assistance.
Before beginning this task, make sure you are grounded. Touch the metal part of the computer case to release any static charge you might have built up in your body.
Researchers suggest that before working on any hardware components inside the laptop, make sure it’s turned off and battery removed.
If you’re trying to fix a laptop that is still in warranty, simply contact the manufacturer and they will replace it at no cost to you.
1) Grab your screwdriver and start removing any screws on the bottom of the laptop so you can remove the plastic case covering.
2) Remove all covers and screws from the laptop so you can access the motherboard.
3) Unplug any cables or wires connected to the motherboard to avoid damaging them when removing the motherboard from the case.
4) Disconnect any wiring attached to components of the case, such as a power switch, reset button and USB ports. Gently lift up on each part until it pops off the case.
5) Remove one screw holding down the graphics card on laptops that have two or more memory cards. If there is only one card, skip this step.
6) Gently lift up the graphics card and unplug it from any slot connected to another component inside the computer. Some graphic cards might be fastened using a locking piece of metal or plastic, so take care when disconnecting the card.
7) Connect the new graphics card instead. Make sure it’s inserted securely into its slot by gently pressing down on it before releasing any retaining device holding it in place.
8) Put the screws back into place to hold down the graphics card and replace the motherboard and any other components you removed.
9) Place the case covers and screws back onto your laptop, plug it in and turn it on to see if it is working properly.
How expensive is it to fix a laptop screen?
A broken laptop screen can be an expensive problem, especially if it’s still under warranty. You might have to replace the entire unit or cover the cost of repairs yourself to keep your computer working properly. Here are some tips on how much it might cost you to fix your laptop screen and what options are available.
The cost of fixing your laptop screen varies by model. Some repairs, like replacing a cracked or broken pane, can be as simple as removing screws and popping off the panel to replace it with an identical piece. The cost of this type of repair is likely to range between $50 and $200 (laptop screens usually cost about $100), depending on your laptop and where you live. If you need more extensive repairs, such as replacing the backlight or internal components, expect to pay between $200 and $500. You can usually upgrade a laptop screen for about 5 times the price of a standard screen, but only if it’s available as an upgrade (not all screens are).


