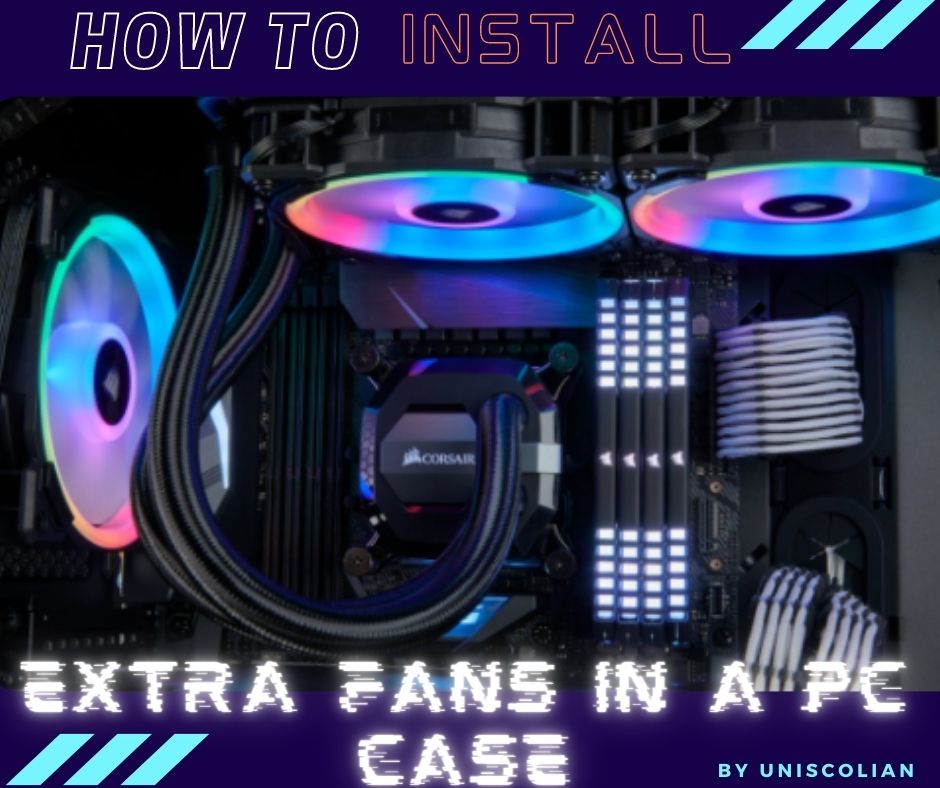
Installing extra fans in your PC case is a great way to improve cooling on your computer. This blog post walks through the steps of installing additional fans and connecting them to either your motherboard or power supply, depending on what you have available. It also includes some helpful tips for determining how many fans you need and where they should be placed inside your computer case.
It’s not uncommon for PC users to feel like they are running their games at full tilt even when the computer is on low settings. This is because a lot of the heat generated by a gaming rig gets trapped inside, and without an adequate cooling system, it can lead to overheating and permanent damage. One way to address this issue is by adding extra fans in your case which allow better airflow.
Here is a quick overview of the procedure: The first step would be deciding where you want the extra fan(s) mounted; there are two options: either on top or on bottom of your motherboard or PSU (power supply unit).
The next thing you need to do is identify which wires are connected to the fan headers on your motherboard or PSU as well as what pins those wires plug into on your motherboard. You’ll need this information to determine where the red and black wires go on your fan.
One thing you may want to do when installing a new fan is disconnecting or completely removing any fans that are currently plugged in, as it’s possible they will not be able to work with the additional airflow.
Finally, make sure you pay attention to the orientation of your fan, which is marked on its frame. It’s important to have a clear understanding of how they should be installed and oriented for maximum performance.
We have discussed How to Install Extra Fans in a PC Case in greater detail in the later section of this article.
What is a PC case fan and what are their purposes
Fans are an important component of any computer, and each PC user should have at least one. There is a function for every fan in your system- the processor has its own cooling fan that blows across it to keep the internal temperature down; the video card typically has its own cooler as well. The power supply also needs to be cooled with a fan.
The case of the computer needs a fan as well, and most cases come with one built-in. If you have other components that generate heat inside your PC then it’s important to add more fans so they can keep everything running smoothly. The number of cooling fans required depends on the type of system- gaming systems usually need at least two or three, while basic office systems can get by with just one.
The types of fans range widely in size and shape to accommodate different needs- some are designed for pushing air outward, others pull cooler air inward. For example, a server room would require an exhaust fan that pushes warm air out the back of the case; if you have all your components inside the case and are using a CPU cooler, you need an intake fan that pulls cool air in from outside.
A lack of fans can lead to overheating, which is why it’s important to make sure your PC has enough cooling for all its components. If any part gets too hot the system will shut down in order to avoid damage or a potential fire hazard. Allowing more than one room on your computer case for airflow also helps- having a fan in the front of your case blowing air into it and another one near the back doing the same thing.
Why do I need extra cooling fans in my PC case?
Fans are an important component of any computer, and each PC user should have at least one. There is a function for every fan in your system- the processor has its own cooling fan that blows across it to keep the internal temperature down; the video card typically has its own cooler as well. The power supply also needs to be cooled with a fan.
The case of the computer needs a fan as well, and most cases come with one built-in. If you have other components that generate heat inside your PC then it’s important to add more fans so they can keep everything running smoothly. The number of cooling fans required depends on the type of system- gaming systems usually need at least two or three, while basic office systems can get by with just one.
The types of fans range widely in size and shape to accommodate different needs- some are designed for pushing air outward, others pull cooler air inward. For example, a server room would require an exhaust fan that pushes warm air out the back of the case; if you have all your components inside the case and are using a CPU cooler, you need an intake fan that pulls cool air in from outside.
A lack of fans can lead to overheating, which is why it’s important to make sure your PC has enough cooling for all its components. If any part gets too hot the system will shut down in order to avoid damage or a potential fire hazard. Allowing more than one room on your computer case for airflow also helps- having a fan in the front of your case blowing air into it and another one near the back doing the same thing.
Related Article: Which is more important, good RAM or a good graphic card?
What are the benefits of installing extra fans in my PC case
One benefit of installing extra fans is that it provides better airflow to critical components in your PC, such as the CPU and graphics card. Without adequate cooling, these parts can overheat which will lead to major issues with speed and stability.
Installing an additional fan helps keep these areas cool so they continue running at their best for longer periods of time.
– The most noticeable benefit is that the case will be able to run cooler and quieter. Fans move air out of a PC case in order to better regulate temperature levels inside, which is critical for stable performance. Installing an extra fan can ensure optimal cooling by drawing heat away from components like graphics cards or CPUs, especially those with overclocked speeds.
– Installing an extra fan can also improve the overall airflow in a PC case, making it easier for heat to escape and ensuring that all of your components will be able to run at lower temperatures. This may make overclocking more stable or reduce noise levels when operating the system with cooling fans running full blast.
– The other benefit is that you may be able to use an extra fan for intake and exhaust. This will make sure the airflow in your PC case is not restricted, which can lead to a higher-quality system overall by ensuring better stability of components.
– Finally, you may be able to improve your system’s cooling by adding another fan. Installing an extra fan can help reduce noise levels and prevent overheating of particular components that need better airflow in order to work efficiently. This is a great way for any PC builder to get the most out of their machine with minimal investment upfront.
Tips for choosing the right type of extra fan for your PC case
Fans are often overlooked when assembling a new PC, but they serve an important purpose. They add more cooling to the inside of your computer by drawing in the fresh air and pushing out hot air from your case. If you don’t want to spend extra money on buying another fan for your specific PC model, there are other ways to attach a second fan.
On the front of your case (not on top, but rather on the left or right side) you can add a second fan with an adapter that fastens to the first fan’s mounting screws. This way is perfect for when you’re adding more fans to increase airflow in your PC and are looking for an even distribution of air.
An example of how to connect two fans together: Attach one fan to the top of your case via screws. Then attach another similar-sized fan on the bottom with wire ties or zip ties, making sure they are parallel and equidistant from each other. This will help keep more air flowing in a steady pattern inside your PC’s case.
Tip: If you want optimal airflow, make sure you leave plenty of space between the two fans. Tip: If your PC doesn’t have a grill at the bottom to allow air in and out, cut one into it or use wire ties/zip ties to attach both fans together on either side of the case where there’s room for airflow. This is also useful if you want to keep your computer as dust-free as possible.
Tip: If you’re looking for a specific fan that’s not available in the size needed, try adding an adapter or some wire ties to connect it with one of the similar dimensions. This will give you close enough measurements and make sure both fans are facing each other at the same time.
Tip: If you have a lot of cables going into your PC, try to place the two fans on either side of it so that they can take in air from both sides. Make sure there’s room for airflow and don’t block any ventilation ports with the wires. You will need to drill holes if this is not possible due to the design of your PC case.
Tip: If you want to make sure the two fans are set up properly, place a piece of paper in between them and turn on both fans at once by plugging one into an outlet with a switch or using another power source such as batteries. The air should be evenly distributed from both sides.
Tip: You can also use a three-inch hole saw to make a new intake for your PC case and attach it with screws. This will allow the fans to run at full speed, drawing in air from all sides of the computer. tip!: A good way to keep dust out is by purchasing an extra fan filter that attaches to the outside of your PC case. This will help keep dust out and make it easier for you to clean without having to open up your computer every time.
How to install extra fans in your pc case (step by step instructions)
Step One: Find the location for your extra fan on your case.
Step Two: Disconnect all cables and remove any brackets from the area you will be installing the fan to make it easier to work with. When moving a bracket, move in a counterclockwise motion so that when you put them back they align properly again.
Step Three: Determine the orientation of the fan. For an external 120mm or 140mm fan, make sure it is facing outwards and away from your case so that when you put it back in place it will be blowing air OUTSIDE the PC case. A 200mm fan (also seen as 220) they are usually designed to be installed inside the case.
Step Four: Install your fan exactly where you found it and connect any cables that were disconnected earlier in this step.
If installing an external 120mm or 140mm, make sure there are no obstructions to the airflow of air coming out from behind the fan (obstructions may include your drive bays)
If installing an external 80mm fan, make sure there is no obstruction to the air intake of your CPU or GPU (obstructions may include a card shroud).
Step Five: Put fans and brackets back in place. For 120mm/140mm fans, install them by slipping it under the screw holes and then twisting the screw holes to lock it in place.
For 80mm fans, make sure you use a rubber grommet if your fan is not compatible with an adhesive pad (which most are). You can also place this on top of any bracket that was removed earlier and insert into the backside of the case screw hole before installing the bracket.
Step Six: Plug in the power cable and test the fan by turning on your computer before you put any other cables back into place to make sure it is working properly!
For external 120mm/140mm fans, turn on your PC and wait a few minutes for airflow that indicates it’s working properly (You can also put your hand near the fan and feel for air coming in).
For external 80mm fans, make sure you have a clear airflow going into the CPU or GPU to ensure it is working properly.
Step Seven: Put back any cables that were disconnected earlier in this step such as SATA connectors from drives, power cords plugged into motherboards, etc. Step Eight: Put your computer back together and you are done installing an extra fan!
– When moving brackets, move them counterclockwise so they will align properly again once they are put back into place. – For external 120mm/140mm fans, make sure they are facing outwards and away from your case so that when you put them back in the place they will be blowing air OUTSIDE the PC case. – For external 120mm or 140mm, make sure there is no obstruction to airflow coming out of the fan (obstructions may include drive bays).
– For external 80mm fans, make sure there is no obstruction to airflow being sucked into the fan (obstructions may include card shrouds). – When installing an extra 120mm or 140mm fan for air intake on your CPU/GPU, make sure you have a clear passage of air going INTO the computer. You can do this by making sure there is no obstruction to the air intake of your CPU or GPU (obstructions may include cards shrouds).
– When installing an extra 120mm/140mm fan for airflow OUTSIDE a computer case, make sure there are no obstructions in the way. You can do this by checking if the area you will be blowing air out of the computer case has any obstructions (obstructions may include card bays).
– External 80mm fans should have a rubber grommet installed on it if they are not compatible with an adhesive pad. You will need to put this on top of any bracket that was removed earlier and insert into the backside of the case screw hole before installing the bracket.
– When plugging in any cables, make sure you have connected them to their proper plugs on your motherboard and drives or else they will not be able to operate correctly.
– Make sure all of your PC case screws are tight for optimal cooling performance (they should never be too tight)!
Connecting the Extra Fan to Motherboard or PSU
In some cases, you may have an additional fan that needs to be connected. The first step is to identify which connection type it has: three-wire (commonly used) and four-wire (used for PWM fans). It will also need power from either the motherboard or the PSU.
If you are connecting to the power supply then follow these steps:
– Connect all of your fans and make sure they’re on a fan controller, if necessary
– Find where it says “Fan Power” on your power supply (it will usually be near its power cord)
– Plug in this fan, but be sure to only plug in one power cable from the PSU, or else it will fry
If you are connecting to the motherboard:
– Find an available fan header on your mobo and connect this fan. Again, make sure it’s plugged into a controller if necessary. Now that we’ve connected everything up we can finally test it out!
– The easiest way to test the fan is with a stress utility. This will put your PC through its paces and see how it handles temperature (or anything else you want).
It’s important to note that these fans are not as efficient as other cooling methods, such as liquid or air–they just circulate hot air around the case.
– Remember that these are not meant to replace other cooling methods, they’re just a way of circulating hot air around your PC!
Common mistakes when installing extra fans in your PC case.
Warning! Be careful when using fans- they can easily overheat and burn out if you don’t position them properly. Always place the intake fan on one side of the case, with an exhaust fan positioned opposite it. If your PC has more than one component that generates heat then make sure there is airflow for all components; this means adding an intake fan at the top or bottom of the case.
The main reason for this is that heat rises, and components produce different amounts of heat. Items such as the CPU will generate more heat than a graphics card, so if you have both in your tower and don’t use an intake fan on the top then all your cool air from outside the case will be drawn to it, leaving nothing left for the graphics card.
-The intake fan should be on one side of the case, with an exhaust fan positioned opposite it; this will ensure that there is airflow for all components.
-If your PC has more than one component that generates heat then make sure there are fans to provide airflow for each component and always place the intake fan at the top or bottom of the case.
-This is because heat rises, so components that produce a lot of heat will be drawing in cool air from outside while other components are not being cooled as well and could overheat.
-If you don’t use an intake fan on the top then your graphics card will shut off as it can’t cool itself, and if you don’t use one on the bottom then your CPU will shut off as there is no way of cooling it.
Noise levels are also a consideration- most fans generate some amount of noise, and it’s important to find one that best suits your needs without disturbing others around you. For example, if you want to keep things as quiet as possible then go with an ultra-high performance “silent” fan.
Related Article: Undervolting of CPU and GPU: Guide to Reduce Power Usage
Tips for installing extra fans in your PC case
Fans are used to help cool down your PC. They work by blowing air over the heat sinks and transferring the “cool” air to other parts of your system. The more fans you have, the quicker they can do this cooling process, which is why a lot of people like having lots of them in their cases. But don’t put too many! It’s better to have a few fans that are of high quality than lots of cheap ones.
It is still important, however, not to put too many in your PC case or they will create more noise and be constantly running so as soon one stops spinning the other starts up again. So you need to set them on a timer so they are only running when your PC is on.
The fans don’t all have to be cooling the same thing, and you can often get away with one or two larger ones than lots of small cheap ones – that’s why people usually set them up in a push-pull configuration where the air flows through both sides of the case. A push-pull configuration is when you have two sets of fans, one on either side of the case. The air flows through both sides and creates more pressure for a quieter system that spins slower because there’s less need to create lots of cool air.
This will create more air pressure and the fans won’t be running as much. You should also have a high-quality fan controller so that you can control how fast they are spinning, with some controllers even having fine-tuning modes for when your PC is idle or under load. In other words: buy good quality cooling to save energy!
-Buy fans that are the same size and design as your current stock.
-Use a screwdriver to connect power cables for each fan before placing it in the case, then use screws to attach them into place.
-If you have two heat sources (CPU and GPU) on one side of the motherboard, some motherboards may only have one header for these two fans.
-It’s important to make sure the cables are long enough before installing any of your new fans, or you could end up with a wobbly fan that doesn’t generate much airflow.
-You may need to remove the front panel of your case or move some cables out of the way in order to access all sides.
-If possible, orient fans with a negative pressure point on one side and positive pressure points on the opposite side so that cool air is being pushed into your computer from both directions.
-Check your motherboard manual to see which fan type is compatible with your PC case.
-You may not be able to use a third-party cooler for your CPU because the holes in the backplate are too small or it doesn’t have enough clearance.
-Sometimes you may need to install more fans if your computer is overclocked in order for it not to overheat.
-When installing new hardware, make sure that all cables are properly organized and connected before closing the case up again.
-If you run into any problems, consult our guide on troubleshooting faulty computer hardware.
-Don’t forget to plug in power connectors!
Tips for keeping it cool when building PCs without extra fans
We all know that building a PC without extra fans is going to cause heat problems. The good news is, there are some things you can do to minimize the risk of overheating your CPU and other components:
-Plan on adding more case fans in future builds if at all possible; this will help with cooling even when running stock-cooling setups.
-Plan on overclocking your CPU in future builds; this will help with cooling even when running stock-cooling setups. The only drawback is that it may void the warranty of some components and can lead to higher power consumption, but if you need a little more heat dissipation for intensive applications, this could be the answer for you.
-Plan on running a higher voltage and frequency with your CPU in future builds; this will help with cooling even when running stock or water cooling setups, but can lead to shorter component life spans although it is possible that overclocking may be the only way to get decent performance from a subpar processor directly from the manufacturer (such as with Intel and AMD).
-Be sure to install an aftermarket CPU cooler in future builds. A good thermal paste application will help a lot too, but be aware that it may void the warranty of your motherboard if you use an incompatible product or don’t carefully apply it.
-Make sure to clean out dust from inside your computer on a regular basis. This is one of the main causes for overheating, and can be an easy fix if you are observant enough to notice it before things get too hot!
-Plan on using liquid cooling in future builds; this will help with cooling even when running stock or water cooling setups; however, there may be some compatibility issues with components.
-Plan on using a water block in future builds; this will help with cooling even when running stock or liquid cooling setups, but can lead to compatibility issues with components and may cause problems if you decide someday that you want to go back to air-cooled.
Providing additional case fans is one of the best ways to improve cooling, and it is a very inexpensive solution. The only drawback to doing this is that if your motherboard can’t detect the additional fans automatically (or you’re using an older system), then they will have to be wired in manually.